First and foremost, if you’re expecting a little one during these times I just want to say that you’re an amazing Mama already and are being so brave for your baby.
Your birth plan, expectations, and hopes have been turned upside down. It’s not fair for you.
Of course, we are all grateful for a healthy baby (this goes without saying), but as a fellow mama who had a less-than-ideal first pregnancy and delivery, I get it. Trust me.
I wish I could have photographed our March and April babies, but since that wasn’t possible due to the stay-at-home orders we’re under it inspired me to want to help all families during this difficult time. Teaching you how to photograph your own newborn session may seem like a small thing, but it’s so important because your memories are so important. This virus will come and it WILL leave. Your family’s precious memories, however, will remain forever.

Lets begin with what you’ll need to photograph your baby:
- Your sweet little lovable newborn, sleeping or awake, but if awake then make sure she/he is calm, warm, and has a full belly.
- Some of your most favorite swaddles that you never want to forget. The best kind are the stretchy, jersey-material ones, but the muslin ones work great, too.
- Your phone.
- A window, preferably north facing.
See how easy this is?! You already have all of these things so no need to feel like you have to buy something. Instead, take a nap!
The first thing you will want to do is preplan your shoot. This way, once your baby is asleep or calm, you’ll know exactly what room you’ll be using and where the good light is. So, first, turn off ALLLLLL lights: overhead, lamps, everything. This is artificial light and, for me, that is a big no no during a newborn session. Take a little walk around your home during the time of day you’ll be photographing your little one. Take note of the brightness of a room, the shadows, and the direct sunlight spilling through the windows. Open curtains and blinds and look for some nice, bright window light. Natural light is the kindest to your baby’s skin and looks, well, the most natural. Also, no need to clean, but do try to declutter the area you’ll be photographing so there’s no distraction.
I would wait until your baby is a week or two old, at least. This way you feel like you have some energy back and have had some real sleep. Plus, you may know when your baby is more awake vs. passed out in a deep sleep. Also, you might have learned a little about his/her personality. Does he fall asleep for hours after nursing? Does she like to stare deeply into your eyes after a bottle? Typically, a newborn will fall asleep after some milk and swaddling. So the first step is to figure out the best way to get your baby into a nice deep sleep. If you need to feed him first, do that. Or if you need to swaddle her and rock her to sleep, then do that. You’re the mama and you know your baby best!
Ok, so you got this, right! First preplan by checking out the best rooms for light and second (loosely) learn your baby’s schedule (don’t get too hung up on this part because, let’s be honest, newborns DON’T HAVE A SCHEDULE!).
Do you have other children? Consider including them during their best time. For toddlers this is after breakfast or around snack time. Avoid lunch time and nap time AT ALL COSTS.

We will come back to your other children.
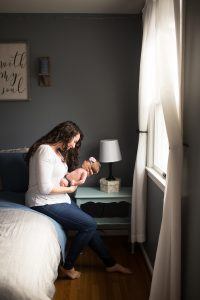
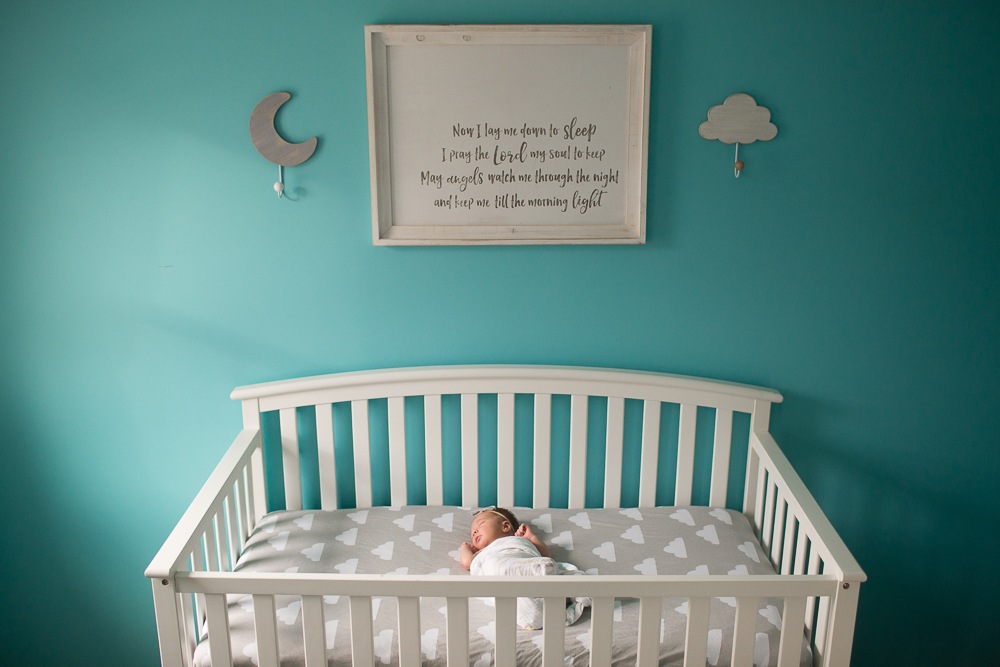
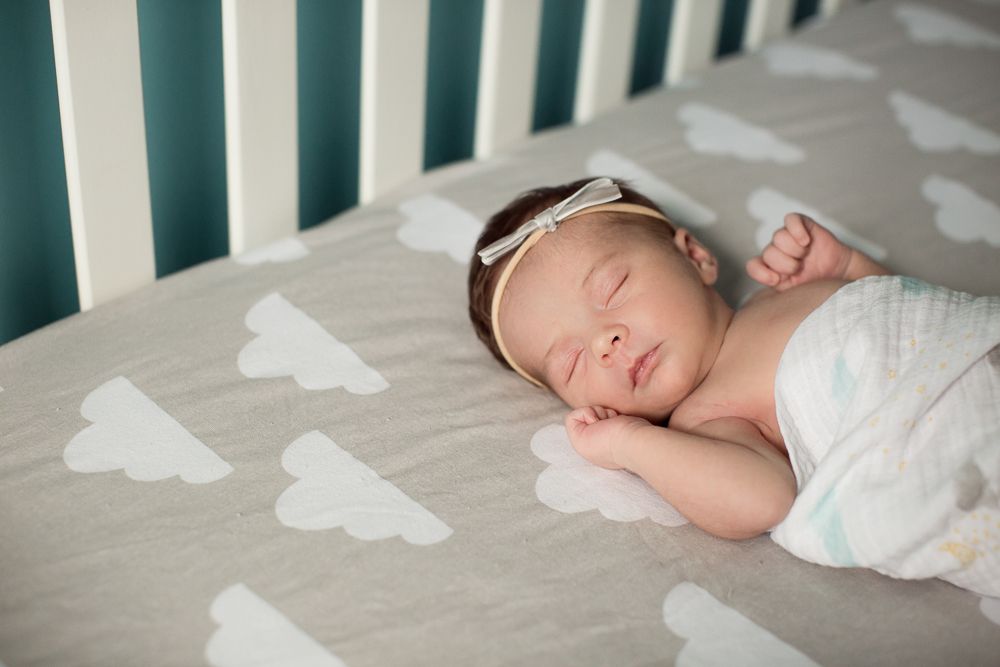
So you have nice window light and a sleeping or happy baby (preferably both :)) swaddled in your favorite blanket. Awesome. What now? Have someone drag the bassinet close to the window, or perhaps your master bedroom bed OR the crib is already in the perfect light GREAT. Let’s start taking photos. Place your baby in the lovely light you scouted out. Notice how the shadowing lands on her face. You want nice, even lighting on her face, but some contrast and shadowing is great for creating depth and interest in the image. I prefer placing baby at a 90 degree angle to the window, but some rooms are saturated with amazing light so you might have a lot more options here.
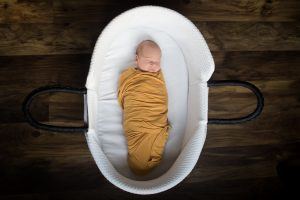
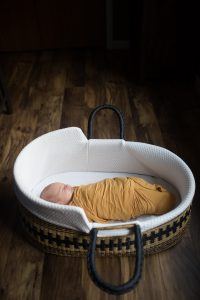
Here’s an example of a dark room with one window ONLY + a visually interesting floor + a fun bassinet. Same “pose” two different angles creates more interest and options. Both really stand out.
The important photos you’ll want:
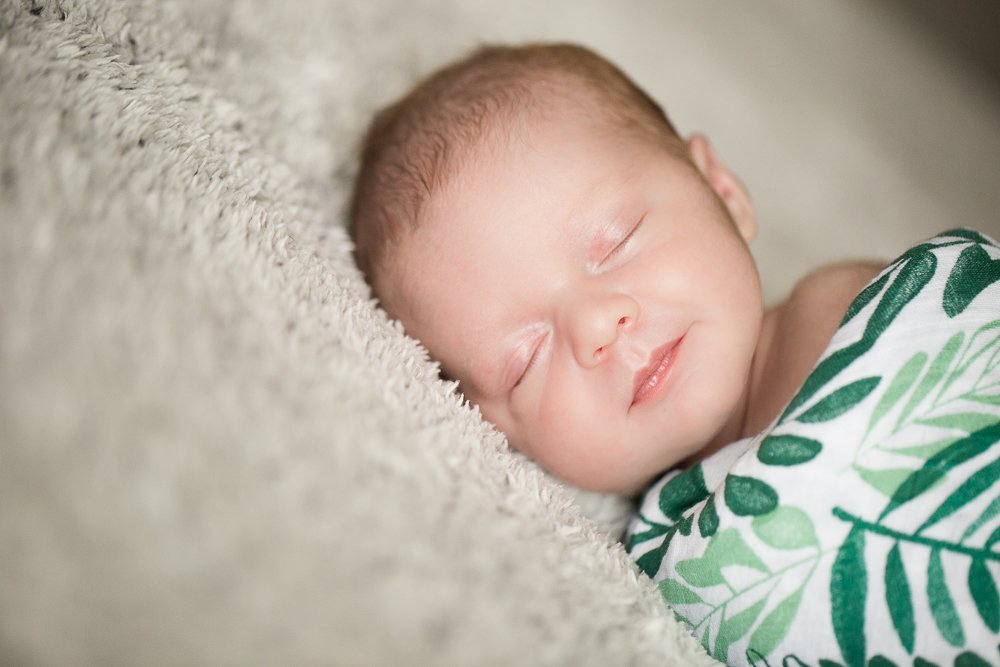
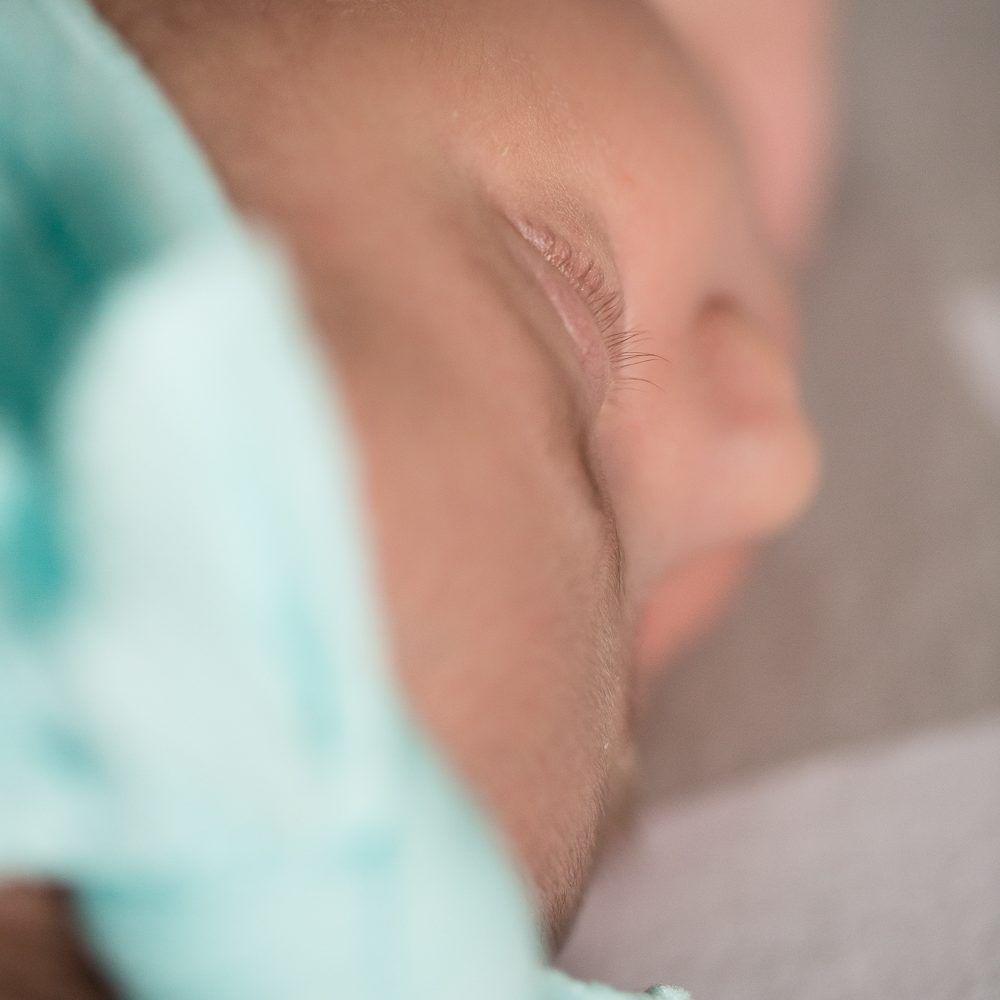
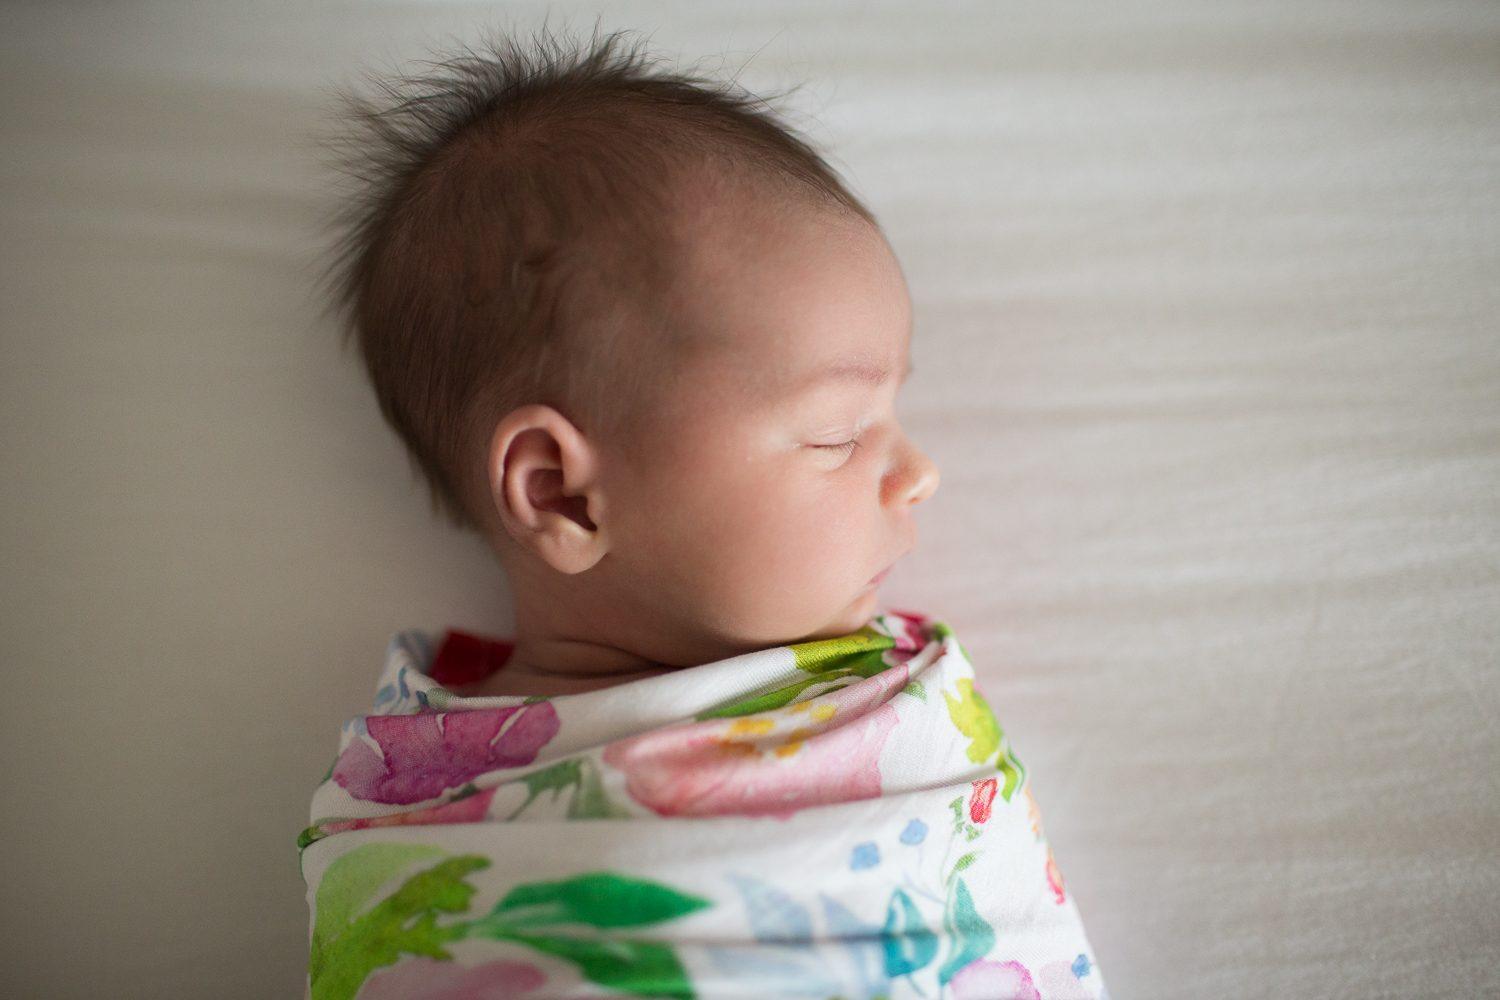
- Close up details of eyelashes, nose, lips, ears, hair, fingers, hands, toes, feet, and little rolls/wrinkles
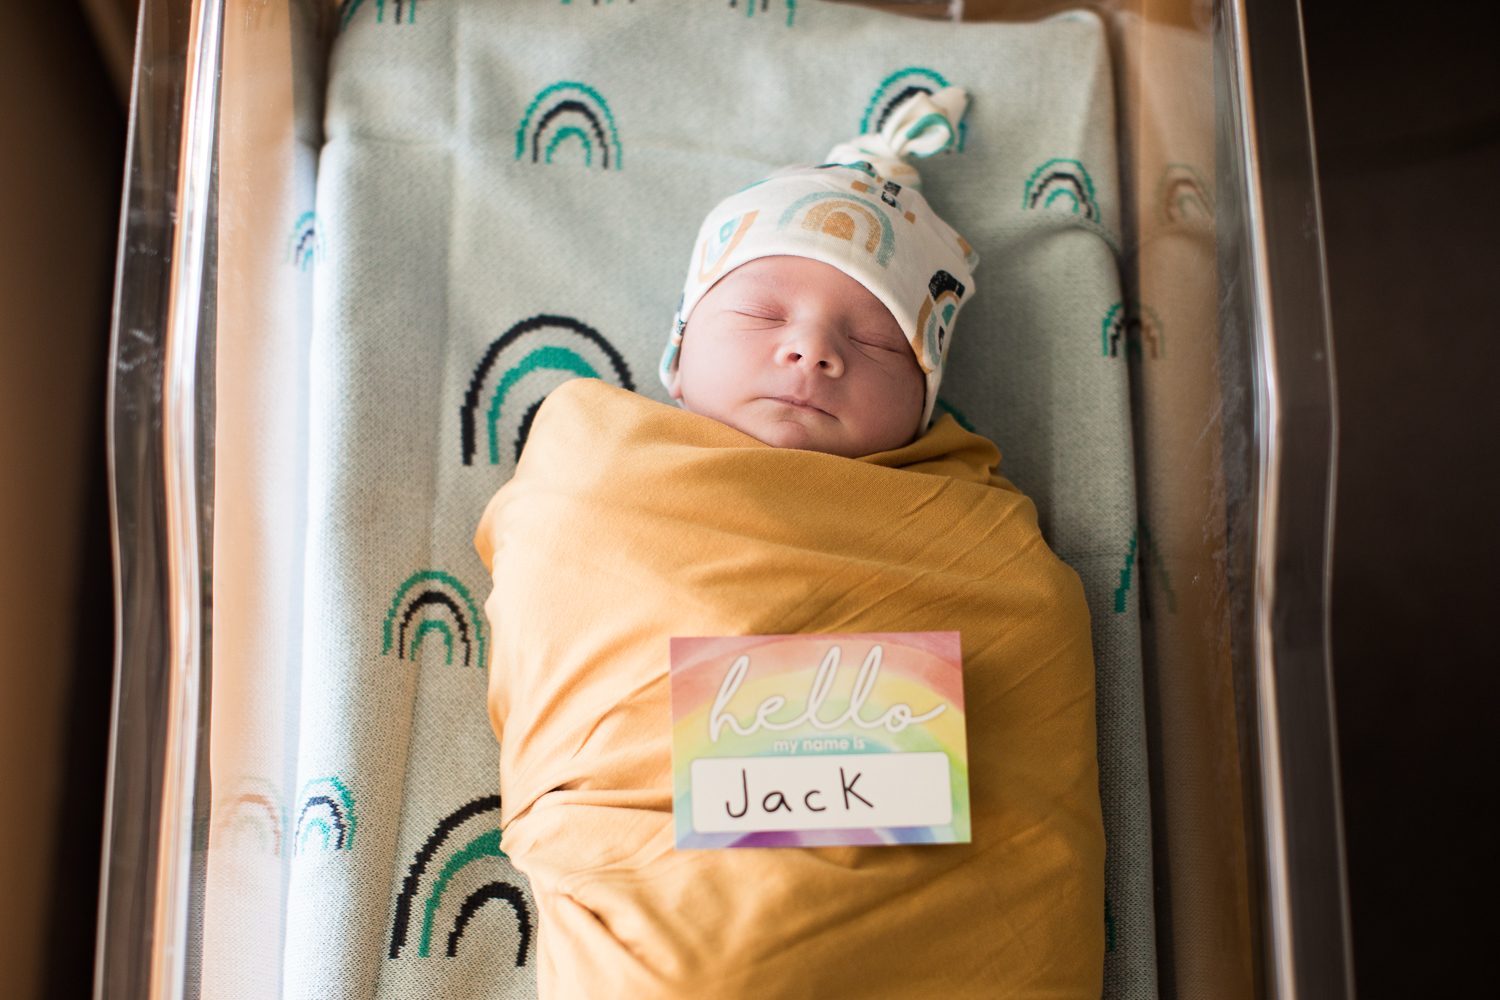
- Full body shots of baby looking peaceful. This may be of him/her asleep or looking at you. Swaddled is best for this photo. Keeping your baby in one pose, but moving yourself around will result in several different types of photos. This creates variety.


Make sure to take landscape and portrait orientation and don’t be afraid to be creative with opening up the swaddle to get some naked photos! Baby will get chilly so make this part quick.


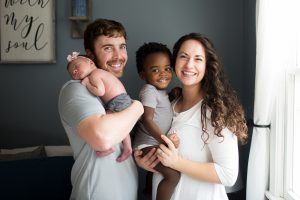
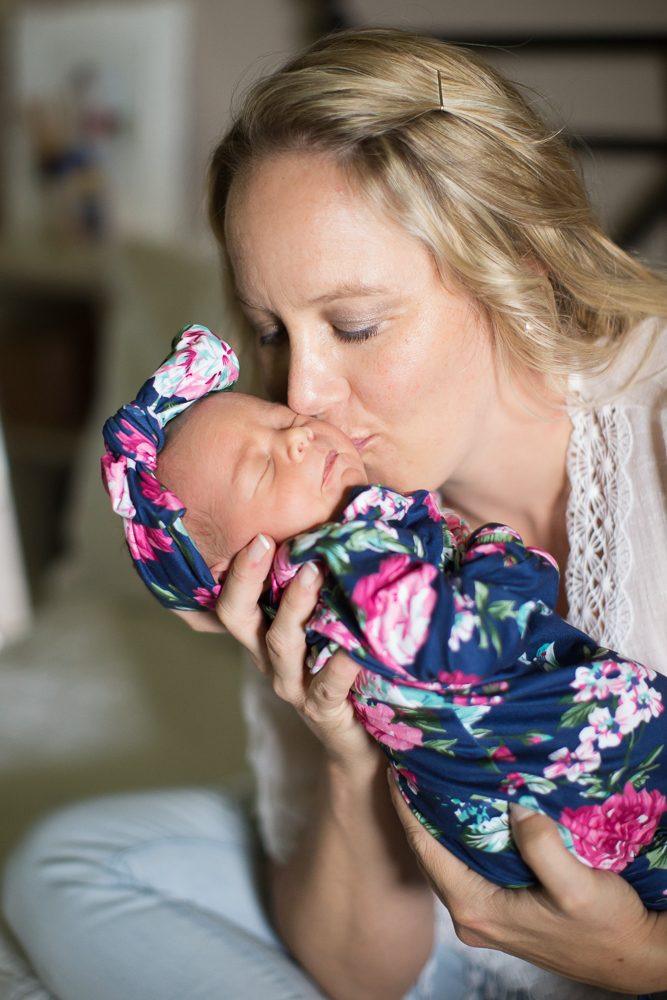
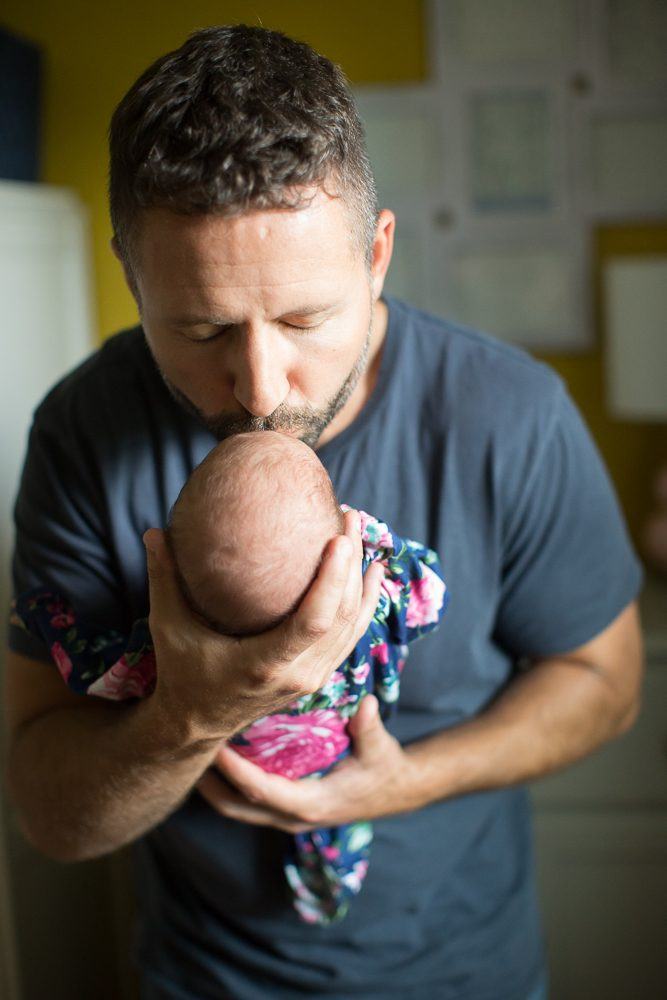
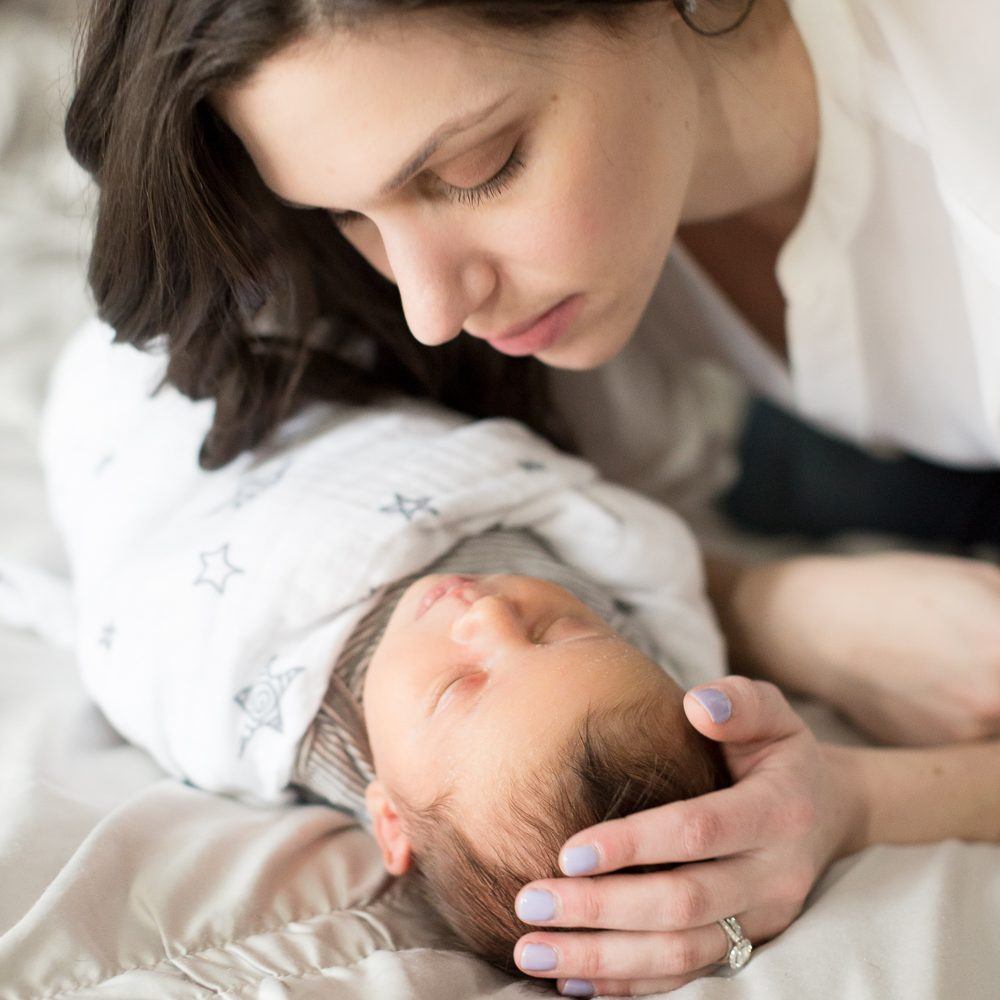
Once you have taken care of documenting all the little details you never want to forget, consider including yourself in the photos. Have your partner take photos of you holding baby, kissing baby, and sweetly looking at your baby. Let’s be honest, this is how you spend a lot of your days now so it’s not very hard to make this look realistic 🙂 Including close ups of your hands and faces together is extra sweet.


Get creative! There’s no WRONG way to do this.


Bonus points for including pups! (As a side note, if you opt to include a dog in the shoot make sure the dog is VERY comfortable with this new little addition to the family)

So, toddlers. As you may know (or maybe this is your first baby and you don’t know so feel free to skip this part and just enjoy the cute photos!), they are a beast all their own 🙂 As I mentioned earlier, it’s so important to include them in all baby-related activities – who doesn’t love big bro or sis holding their brand new sibling! BUT! Make sure it’s a good time of day for them, they are well-rested and well-fed. We all know that a hungry, tired toddler can turn into a monster. If you want that big grin, I would take it easy on asking for it. Instead, try giving your toddler a task such as, “tickle the baby’s toes!”, “smell the baby’s hair!”, “try to GENTLY hold the baby’s hand!”, “give the baby a little kiss on her head!”, whatever it may be try to sound SUPER excited about it and like you really don’t care if he/she does this task or not. Reverse psychology at it’s finest. Avoid yelling, barking orders, forcing commands, etc. This will only make for a bad situation all around. If your older child is very young, try putting the baby in his/her crib to “protect” her from rough playing.


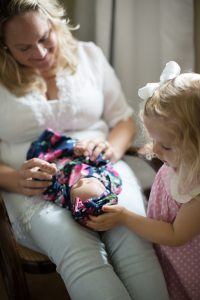


If you play your cards right, that smile might just come all on it’s own!

And, finally, the all-important family photo. This is not as easily done without someone taking the photo, but it can be done and I recommend trying! Make sure you put your phone in a sturdy spot, face level and use the self timer. If you have a sleeping baby then this will be a piece of cake. If you’re adding a toddler or two to the situation, perhaps not as easy, but may I recommend bribing. This may be a good time to invite your toddler to smile at the phone for a small treat. And try to make this happen in the first 1 or 2 shots because beyond that your toddler may get a little squirmy. If you don’t think he/she will be up for smiling at the phone, then try asking him/her to do a task such as kissing the baby on her head while you count to 5.
Take 1. Super cute and I would be thrilled with this photo.

Take 2. BEST CASE SCENARIO! The unicorn of all family photos with a newborn and young toddler.
What now? Well, once you have completed your session, first pat yourself on the back and take a deep sigh of relief knowing your newborn’s early weeks of life are documented and you get to forever scroll through these images and remember this AMAZING time in your family’s life. Then, go through and favorite the best ones and delete the rest. Don’t look back, just delete and move on. If you’re feeling really fancy, you can then “edit” these images with your phone’s tools or other photo editing apps for phones. Usually bringing up the exposure/brightness and adjusting the shadowing and warmth will be all you need to do. Especially, if you used all natural light. Otherwise send them to a lab for printing (I recommend Mpix), create an album (Blurb, Chatbooks, or Shutterfly) and back up to Google photo drive, Amazon Prime photos, or any other cloud-type service.
I’m so proud of you for creating meaningful, beautiful images of your sweet little family and I know you will cherish these photos forever. Maybe even more so because it was you who photographed them.
XO,
Jen